Creating Conditional Modifiers for SwiftUI Views
Implementing conditional modifiers in SwiftUI for easy application of modifiers only when specific conditions are met

Understanding View Modifiers in SwiftUI
Before diving into conditional logic, it's important to understand what View Modifiers are in the context of SwiftUI. In Apple's declarative UI framework, modifiers are essentially adjustments or transformations applied to a view to control its styling, layout, or behavior. For example, chaining modifiers like .padding() to add spacing, or .background() to set a background color behind your text, allows developers to build complex user interfaces piece by piece.
Each modifier returns a new view that wraps the original view. This declarative syntax is powerful, but it can become tricky when you want to apply specific styles dynamically based on the application's state or user interactions.
Why Do We Need Conditional Modifiers?
When building modern iOS applications, user interfaces are rarely static. Elements need to adapt constantly: buttons might become disabled, background colors may change to indicate a selected state, or a warning border might appear when input is invalid. This requires us to apply modifiers only when a specific condition is met.
Without a clean way to apply conditional modifiers, developers often resort to duplicating entire view hierarchies inside bulky if-else statements, which drastically reduces code readability and violates the DRY (Don't Repeat Yourself) principle. Let's look at the best approaches to solve this.
Method 1: Using the Ternary Operator for Simple Conditions
For simple style changes, such as toggling between two colors or adjusting a boolean parameter, the most straightforward approach is using a standard Swift ternary conditional operator.
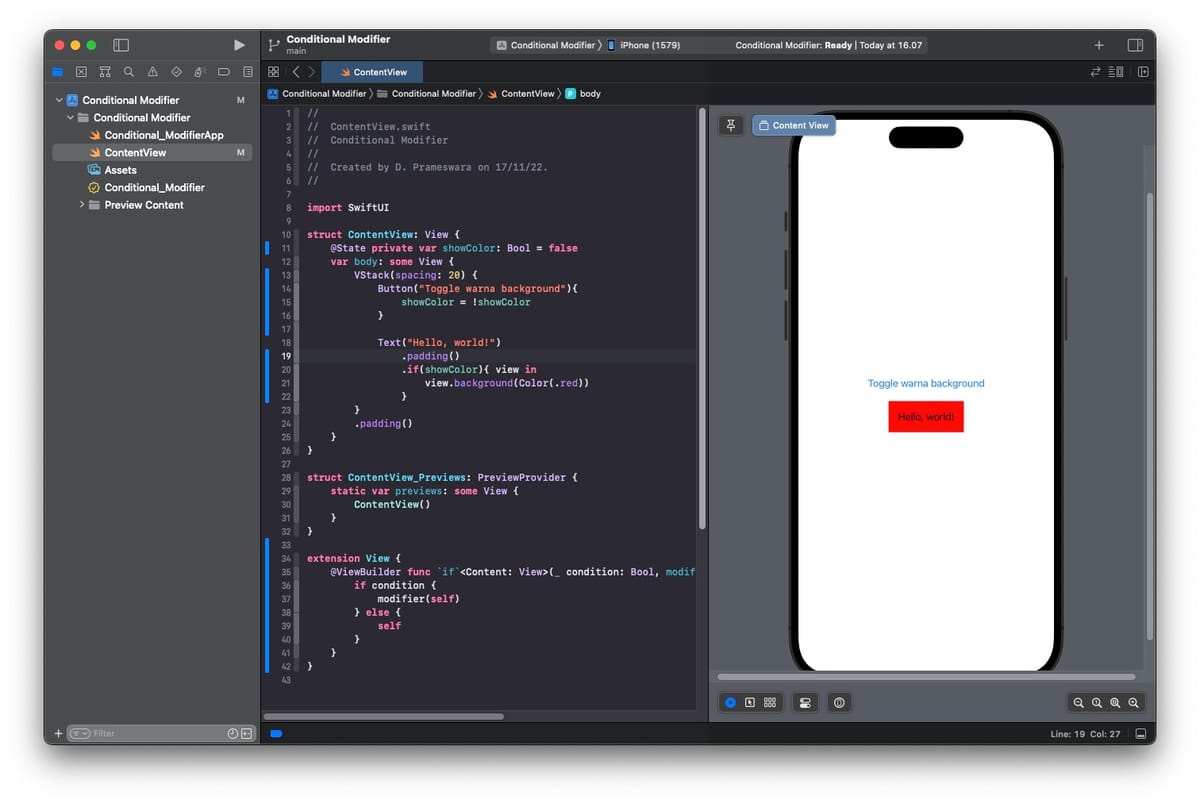
A ternary operator allows you to evaluate a condition inline. For instance, if a boolean state variable is true, you can apply a red background; otherwise, you can apply a clear background. Take a look at the code example below:
import SwiftUI

struct ContentView: View {
    @State private var showColor: Bool = false

    var body: some View {
        VStack(spacing: 20) {
            Button("Toggle background color") {
                withAnimation {
                    showColor.toggle()
                }
            }
            .buttonStyle(.borderedProminent)

            Text("Hello, SwiftUI!")
                .padding()
                .background(Color(showColor ? .red : .clear))
                .cornerRadius(8)
        }
        .padding()
    }
}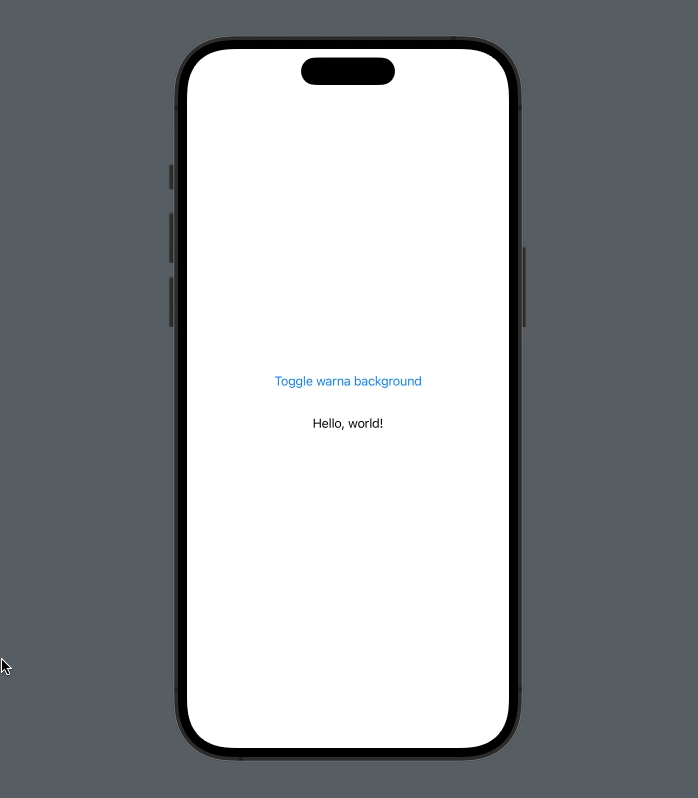
In the example above, the line .background(Color(showColor ? .red : .clear)) evaluates the condition inline. While this approach is very simple and performs well, it has a significant limitation: it requires a fallback value (like .clear). Furthermore, it only works if the modifier parameter supports the type you are returning. If you want to conditionally apply a modifier that changes the structure deeply (like adding a shadow or a completely different overlay), the ternary operator quickly falls short.
Method 2: Custom Conditional View Modifier
When you need to completely add or omit a modifier—rather than just toggling its internal value—the best solution is to create a custom SwiftUI View Extension that acts as a conditional modifier wrapper. This provides a clean, chainable API that keeps your view code tidy.
extension View {
    /// Applies the given transform if the given condition evaluates to true.
    /// - Parameters:
    ///   - condition: The condition to evaluate.
    ///   - transform: The transform to apply to the source `View`.
    /// - Returns: Either the original `View` or the modified `View` if the condition is `true`.
    @ViewBuilder func `if`<Content: View>(_ condition: Bool, transform: (Self) -> Content) -> some View {
        if condition {
            transform(self)
        } else {
            self
        }
    }
}
How the Extension Works
Let's break down why this extension is so effective:
1. @ViewBuilder: This property wrapper allows the function to return different underlying view types from the if and else branches while maintaining the opaque some View return type.
2. transform closure: We pass a closure that takes Self (the original view) and returns a new view. This allows us to chain new modifiers.
Now, let's look at how much cleaner our view code becomes when we apply this custom extension:
struct ContentView: View {
    @State private var applyHighlight: Bool = false

    var body: some View {
        VStack(spacing: 20) {
            Button("Toggle Highlight") {
                applyHighlight.toggle()
            }

            Text("Conditional Styling")
                .font(.headline)
                .padding()
                // Using our custom conditional modifier
                .if(applyHighlight) { view in
                    view
                        .background(Color.yellow)
                        .cornerRadius(10)
                        .shadow(radius: 5)
                }
        }
        .padding()
    }
}
Notice the .if(applyHighlight) block. Now, we are dynamically appending three different modifiers (.background, .cornerRadius, and .shadow) only when the condition is true. If it's false, the original unmodified text view is returned natively.
Best Practices and Conclusion
Adding an .if extension to your SwiftUI projects is highly recommended to prevent code duplication and deeply nested logic. However, keep in mind that modifying view hierarchy branches heavily using @ViewBuilder can sometimes trigger abrupt UI rendering resets because SwiftUI treats the true/false branches as structurally distinct views.
To summarize:
• Use the ternary operator (e.g., opacity(isVisible ? 1 : 0)) for simple value toggles. It provides better animation continuity.
• Use the custom .if extension when you need to optionally inject entirely new modifiers, wrappers, or structural changes.
Implementing custom extensions like the conditional modifier makes your SwiftUI declarative syntax much more robust and easier to maintain. Feel free to incorporate this snippet into your next iOS project!
 meshwara