SwiftUI Tips: Remove NavigationLink Arrow in List (Updated)
SwiftUI tutorial: Remove arrow indicators from NavigationLink in your lists. Achieve a cleaner look

If you are using a List in SwiftUI to display data, while also placing a NavigationLink for navigation transitions, by default the List will display an arrow icon on the right side of each List items. This arrow indicates that the data can be clicked to navigate to another page. But, in certain conditions, developers may want the arrow to be hidden. Unfortunately, at the time this was written, Apple has not provided an option to hide the arrow. But don't worry, with a little creativity, the arrow can easily be hidden.
Below are some alternative solutions to remove the arrow on a NavigationLink in a List.
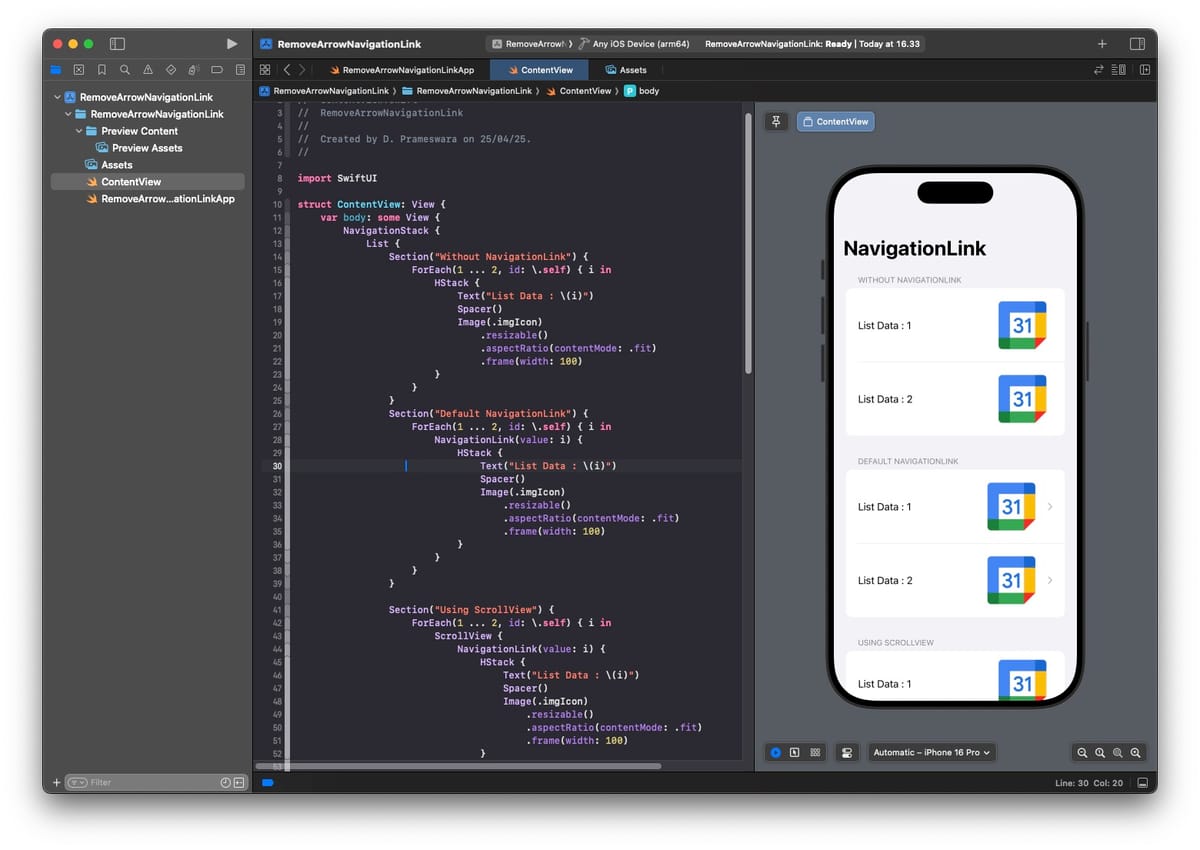
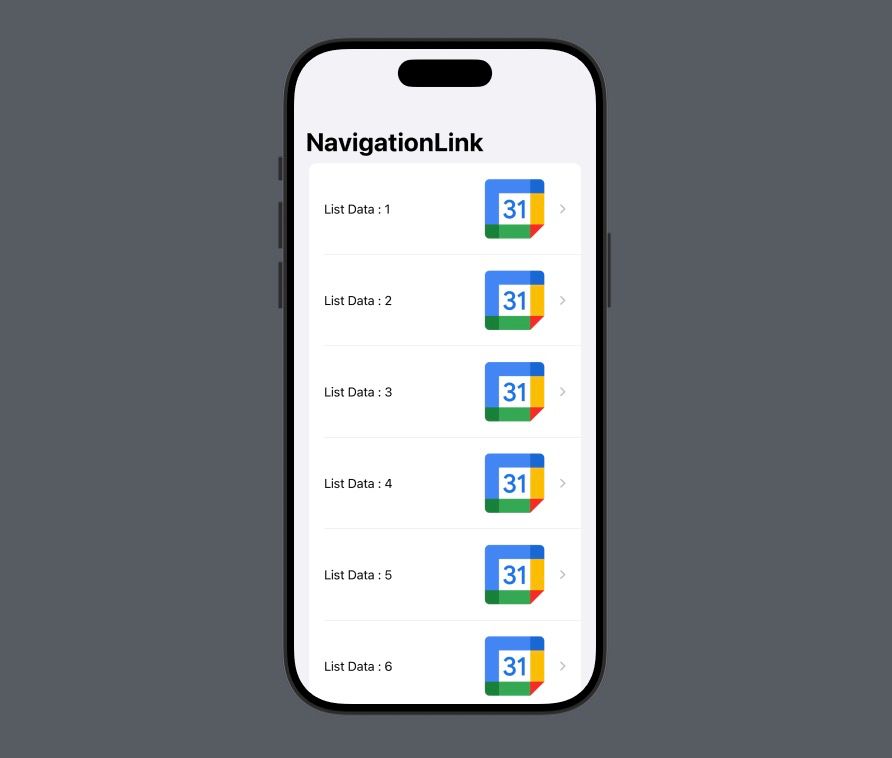
#Appearance of Default NavigationLink in a List
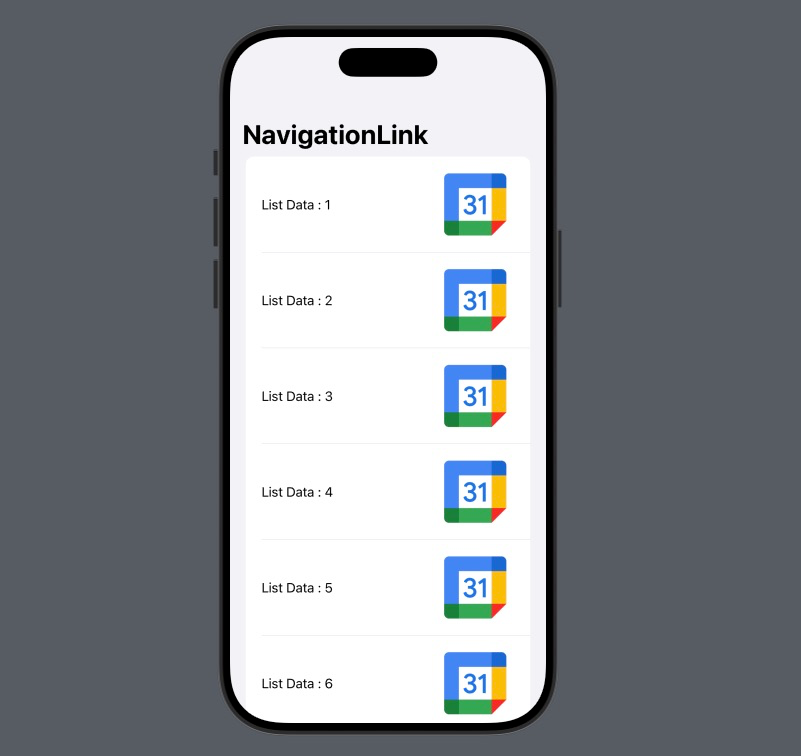
This is the default appearance of a NavigationLink in a List. The arrow appears on the right side of each list item.
import SwiftUI

struct ContentView: View {
    var body: some View {
        NavigationStack {
            List {
                Section {
                    ForEach(1 ... 10, id: \.self) { i in
                        NavigationLink(value: i) {
                            HStack {
                                Text("List Data : \(i)")
                                Spacer()
                                Image(.imgIcon)
                                    .resizable()
                                    .aspectRatio(contentMode: .fit)
                                    .frame(width: 100)
                            }
                        }
                    }
                }
            }
            .navigationDestination(for: Int.self) { i in
                Text("Selected Value : \(i)")
            }
            .navigationTitle("NavigationLink")
        }
    }
}
#Using ScrollView
To remove the arrow, you can add a ScrollView outside the NavigationLink. This trick may sound odd, but so far it works, albeit with some notes.
If you use a ScrollView, by default the text color inside the View will change like a Button. Therefore, you need to add .buttonStyle(.plain) modifier to the NavigationLink, and don't forget to add .contentShape(Rectangle()) modifier inside the content. With these modifiers, the Text in the List will look the same as before.
  Section {
      ForEach(1 ... 10, id: \.self) { i in
          ScrollView {
              NavigationLink(value: i) {
                  HStack {
                      Text("List Data : \(i)")
                      Spacer()
                      Image(.imgIcon)
                          .resizable()
                          .aspectRatio(contentMode: .fit)
                          .frame(width: 100)
                  }
                  .contentShape(Rectangle())
              }
              .buttonStyle(.plain)
          }
      }
  }
The downside of this solution is that the padding inside the content does not look the same as before. The top padding appears smaller compared to the bottom.
#Using Background Modifier
A better alternative solution is to move the NavigationLink into the Background, with an EmptyView as the content.
Move the NavigationLink into .background modifier of the content. Don't forget to add an EmptyView as the content for the NavigationLink; otherwise, an error will occur. The result is perfect. There is no change in padding, and the NavigationLink works well.
  Section {
      ForEach(1 ... 10, id: \.self) { i in
          HStack {
              Text("List Data : \(i)")
              Spacer()
              Image(.imgIcon)
                  .resizable()
                  .aspectRatio(contentMode: .fit)
                  .frame(width: 100)
          }
          .background {
              NavigationLink(value: i) {
                  EmptyView()
              }
          }
      }
  }
#Using Overlay Modifier
This solution is essentially the same as using the Background above. The difference is that this time the NavigationLink is not placed in .background modifier, but in .overlay modifier.
If you use .overlay modifier, make sure to add .opacity(0) modifier to the NavigationLink; otherwise, the arrow will still appear. The result is exactly the same as using Background modifier.
Section {
    ForEach(1 ... 10, id: \.self) { i in
        HStack {
            Text("List Data : \(i)")
            Spacer()
            Image(.imgIcon)
                .resizable()
                .aspectRatio(contentMode: .fit)
                .frame(width: 100)
        }
        .overlay {
            NavigationLink(value: i) {
                EmptyView()
            }
            .opacity(0)
        }
    }
}
#Conclusion
Of the several alternatives above, it seems we agree that the easiest and most appropriate solution is to use Background modifier. However, you can still choose the solution that best suits your needs.
That's the trick to remove the arrow mark on a NavigationLink in a List. Good luck and hopefully this little bit is helpful.