Creating a Simple Timer Using SwiftUI
This article contains a tutorial on how to create a simple Timer using SwiftUI


In this article, we will attempt to create a simple Timer application using SwiftUI 3. This Timer should be able to display time up to milliseconds. The displayed time should only include minutes, seconds, and milliseconds.
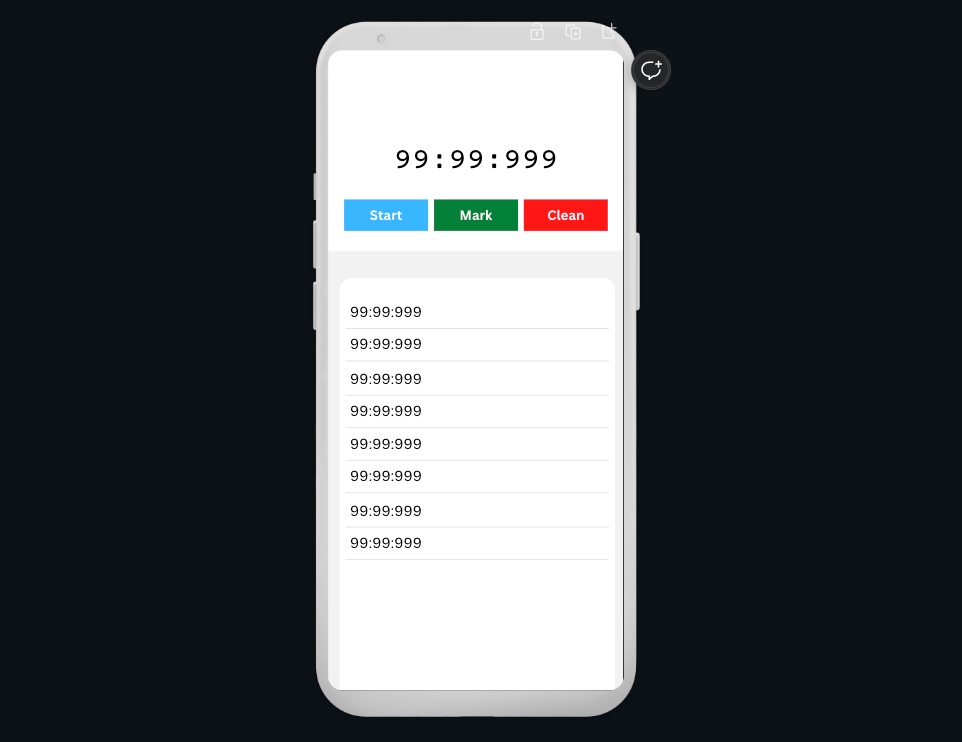
For the layout design, we'll keep it as simple as possible, roughly like the image below. As for features, we'll have start, stop, mark (record time), display a list of times, and finally clear the list of times.
#What is Timer in Swift
Timer is a class provided by Swift for scheduling a task either once or repeatedly at specified intervals. Timers are typically used in time-based applications such as clock apps, countdowns, speed timers, and more.
In general, there are two ways to use Timer in SwiftUI: using scheduledTimer or using publish. Each has its own advantages and disadvantages, so we'll try both to see the differences.
As usual, for the initial step, let's create the layout of this Timer application according to the Mockup design above. Please write the code below and adjust it as needed.
import SwiftUI
struct ContentView: View {
var body: some View {
VStack(spacing: 10) {
HStack() {
Text("99:99:999")
}
.font(.system(size: 50))
.fontDesign(.monospaced)
.padding()
HStack {
Button {
// todo: start timer
} label: {
Label( "Start", systemImage: "play.fill")
.padding(5)
}
.buttonStyle(.borderedProminent)
.tint( .blue)
Button {
// todo: mark timer
} label: {
Label( "Mark",
systemImage: "pencil.and.ruler.fill"
)
.padding(5)
}
.buttonStyle(.borderedProminent)
.tint(.green)
Button {
// todo: cleanup marking
} label: {
Label( "Clean", systemImage: "trash.fill")
.padding(5)
}
.buttonStyle(.borderedProminent)
.tint(.red)
}
.padding()
List {
ForEach(0...100, id: \.self) { i in
Text("99:99:9999")
}
}
}
}
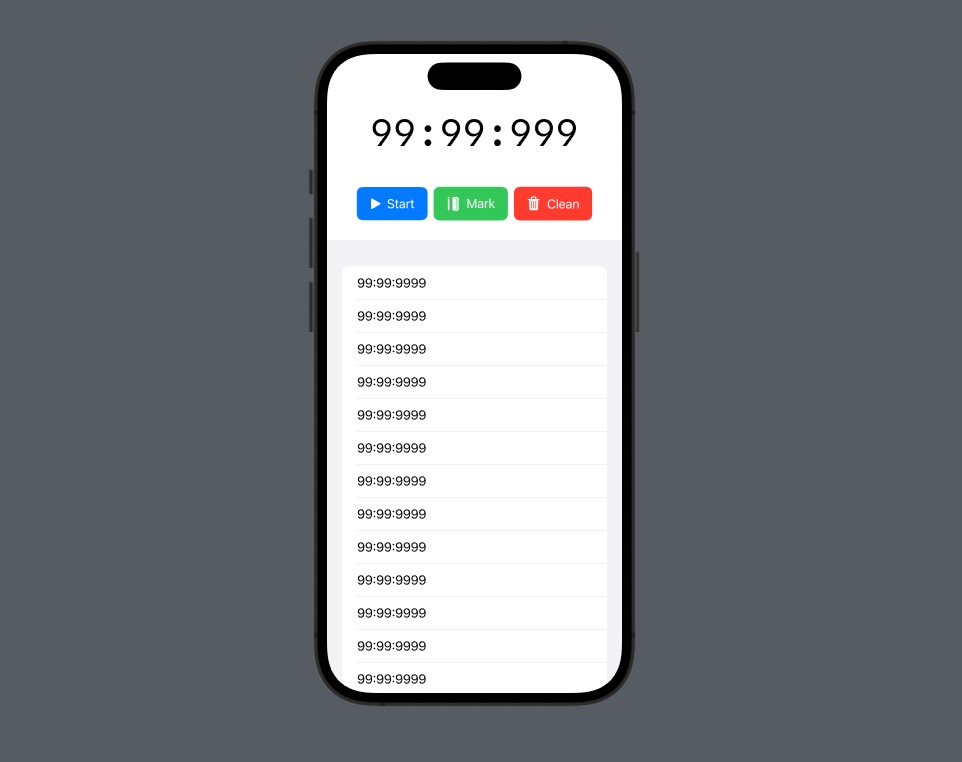
}Pay attention to the part where we display the time/timer. We use the fontDesign modifier with .monospaced to make the time display consistent (no jitter due to changing digit widths). You can try it without the fontDesign modifier to see the difference.
HStack() {
	Text("99:99:999")
}
.font(.system(size: 50))
.fontDesign(.monospaced)
.padding()
The result should be roughly like the image below.
#Preparing Variables
There are several variables/flags needed in this application, roughly like the code below. Make sure you don't forget to add @State to all variables.
struct ContentView: View {
    // flag apakah timer sedang run
    @State private var timerRun: Bool = false
    // start date
    @State private var start: TimeInterval = 0.0
    // untuk menyimpan selisih antara waktu start dengan current
    @State private var interval: TimeInterval = 0.0
    // string dari selisih timer dalam format menit:detik:mili
    @State private var waktu = "00:00:000"
    // array untuk menyimpan hasil marking waktu
    @State private var mark = [String]()
    // timer
    @State private var timer: Timer?
Note that the start and interval variables are of type TimeInterval. Why TimeInterval? Because it will make it easier to calculate the difference between two times.
#Timer with scheduledTimer
In this application, the Timer will start when the user presses the Start button. Therefore, let's create a private function to set up and run the Timer as shown below.
private func startTimer() {
    if timerRun {
        return
    }
    interval = 0.0
    start = Date.timeIntervalSinceReferenceDate

    timer = Timer.scheduledTimer(withTimeInterval: 0.001, repeats: true){ _ in
        interval = Date.timeIntervalSinceReferenceDate - start

        let mili = Int((interval.truncatingRemainder(dividingBy: 1)) * 1000)
        let detik = Int(interval.truncatingRemainder(dividingBy: 60))
        let menit = Int(interval / 60)

        waktu = String(format: "%02d:%02d:%03d", menit, detik, mili)
    }
    timerRun = true
}
In this function, we set the start value to the current date in interval form using Date.timeIntervalSinceReferenceDate.
Please note the initialization of the Timer that using Timer.scheduledTimer.
class func scheduledTimer(
    withTimeInterval interval: TimeInterval,
    repeats: Bool,
    block: @escaping @Sendable (Timer) -> Void
) -> Timer
withTimeInterval is the parameter for specifying the time interval of the Timer in seconds. The smaller the value, the faster the Timer's interval. However, keep in mind that smaller intervals require more device energy. So make sure to choose an appropriate value. In the example above, it's set to 0.001 seconds or 1 millisecond.
repeats determines whether the process will be repeated or not. For this application's needs, it should be true.
block is the code that will be executed each time the Timer runs. For this application, it calculates the time difference between the current time and the start time, which results in the time difference. This difference is then stored in the interval variable prepared earlier. Additionally, this TimeInterval value is then extracted into milliseconds, seconds, and minutes, and then formatted into the waktu variable. This waktu variable will be displayed in the view.
Next, add two functions to stop the timer and record the timer's result.
private func stopTimer() {
    timer?.invalidate()
    timer = nil
    timerRun = false
}

private func markTimer(){
	mark.append(waktu)
}
To stop a Timer initialized with scheduledTimer, use the invalidate method.
Now, adjust the View to display the results and add click functions on the start, stop, and other buttons.
var body: some View {
    VStack {
        // info timer
        HStack {
            Text(waktu)
        }
        .font(.system(size: 50))
        .fontDesign(.monospaced)
        .padding()

        // tombol
        HStack {
            Button {
                if timerRun {
                    stopTimer()
                } else {
                    startTimer()
                }
            } label: {
                Label(timerRun ? "Stop" : "Start",
                      systemImage: timerRun ? "stop.fill" : "play.fill"
                )
                .padding(5)
            }
            .buttonStyle(.borderedProminent)
            .tint(timerRun ? .orange : .blue)

            if timerRun {
                Button {
                    markTimer()
                } label: {
                    Label("Mark",
                          systemImage: "pencil.and.ruler.fill"
                    )
                    .padding(5)
                }
                .buttonStyle(.borderedProminent)
                .tint(.green)
            }

            Button {
                mark = []
            } label: {
                Label("Clean", systemImage: "trash.fill")
                    .padding(5)
            }
            .buttonStyle(.borderedProminent)
            .tint(.red)
        }
        .padding()

        // list hasil
        List {
            ForEach(mark, id: \.self) { i in
                Text(i)
            }
        }
    }
}
Finally this is the final result.
In the final result, we can see how the Timer can record interval changes in milliseconds. However, please note that a Timer initialized with Timer.scheduledTimer will be paused when there is other user interaction. For example, when user scrolls the List.
Therefore, next, we will modify the code above so that the Timer is not paused when there are other user interactions.
#Timer with publish
In addition to being initialized with Timer.scheduledTimer, Timer can also be initialized with publish. The advantage of initializing with publish is that we can set the runLoop and mode of the Timer
static func publish(
    every interval: TimeInterval,
    tolerance: TimeInterval? = nil,
    on runLoop: RunLoop,
    in mode: RunLoop.Mode,
    options: RunLoop.SchedulerOptions? = nil
) -> Timer.TimerPublisher
To ensure the Timer is not affected by user interactions, the runLoop should be set to main, and the mode should be set to common.
First, add import Combine. Then, change the type of the timer variable from Timer? to Publishers.Autoconnect<Timer.TimerPublisher>?.
Next, modify the startTimer and stopTimer functions as follows.
import Combine
import SwiftUI

struct ContentView: View {
	...
    // variable timer dengan publisher
    @State private var timer: Publishers.Autoconnect<Timer.TimerPublisher>? = nil
    // variable untuk menyimpan subscription
    @State private var subscription: AnyCancellable? = nil

    private func startTimer() {
        ...

        timer = Timer.publish(every: 0.001, on: .main, in: .common).autoconnect()
        subscription = timer?.sink(receiveValue: { _ in
            interval = Date.timeIntervalSinceReferenceDate - start

            let mili = Int((interval.truncatingRemainder(dividingBy: 1)) * 1000)
            let detik = Int(interval.truncatingRemainder(dividingBy: 60))
            let menit = Int(interval / 60)
            waktu = String(format: "%02d:%02d:%03d", menit, detik, mili)
        })
    }

    private func stopTimer() {
        timerRun = false
        timer?.upstream.connect().cancel()
        timer = nil
        subscription = nil
    }
With the changes, the Timer now will not be affected when there are user interactions, as shown in the final result above.
That's the tutorial on how to create a simple Timer using SwiftUI. Hopefully, there's something new we can learn together.
Good luck, and I hope this little tip is helpful.
 meshwara