Creating an Intuitive Custom Swipe Experience with SwiftUI
Learn how to utilize custom swipe buttons effectively in List rows with SwiftUI. Explore the power of swipe actions for mobile app design

One of the new features in SwiftUI 3 is the addition of the swipeActions() modifier for List rows. By using swipeActions, you can easily add buttons as left or right swipe actions in a List. This is something very popular and commonly used in mobile email client applications.
func swipeActions<T>(
    edge: HorizontalEdge = .trailing,
    allowsFullSwipe: Bool = true,
    content: () -> T
) -> some View where T : ViewAs shown in the description of the swipeActions modifier above, the edge parameter is used to set the swipe direction, whether from the left (leading) or from the right (trailing). allowsFullSwipe is used to determine whether a full swipe action can be performed (meaning swiping all the way to the left or right), which automatically triggers the action.
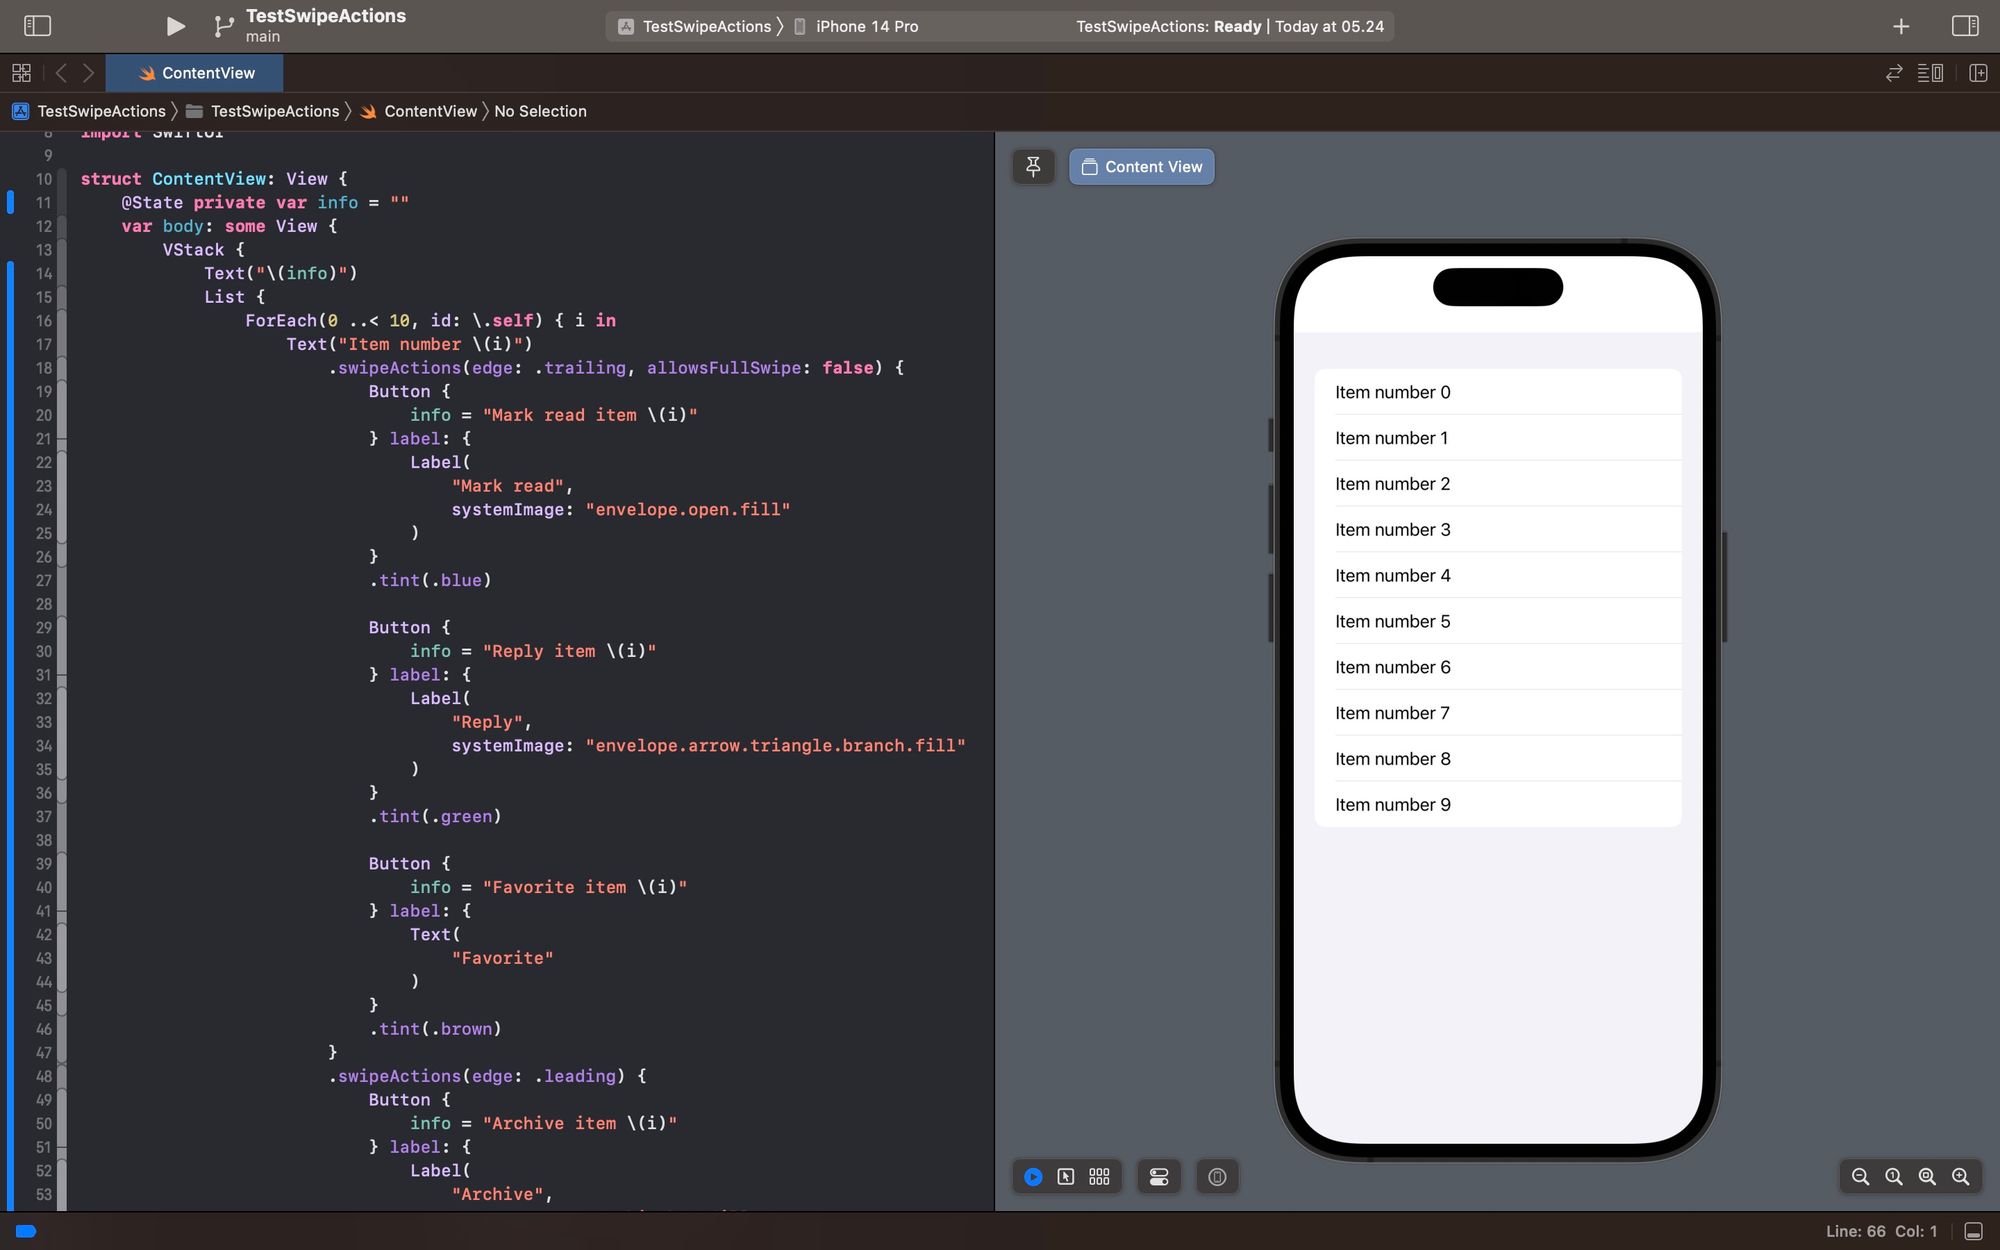
This is an example of how to use swipeActions with multiple buttons, both from left or right directions.
import SwiftUI

struct ContentView: View {
    @State private var info = ""
    var body: some View {
        VStack {
            Text("\(info)")
            List {
                ForEach(0 ..< 10, id: \.self) { i in
                    Text("Item number \(i)")
                        .swipeActions(edge: .trailing, allowsFullSwipe: false) {
                            Button {
                                info = "Mark read item \(i)"
                            } label: {
                                Label(
                                    "Mark read",
                                    systemImage: "envelope.open.fill"
                                )
                            }
                            .tint(.blue)

                            Button {
                                info = "Reply item \(i)"
                            } label: {
                                Label(
                                    "Reply",
                                    systemImage: "envelope.arrow.triangle.branch.fill"
                                )
                            }
                            .tint(.green)

                            Button {
                                info = "Favorite item \(i)"
                            } label: {
                                Text(
                                    "Favorite"
                                )
                            }
                            .tint(.brown)
                        }
                        .swipeActions(edge: .leading) {
                            Button {
                                info = "Archive item \(i)"
                            } label: {
                                Label(
                                    "Archive",
                                    systemImage: "archivebox.fill"
                                )
                            }
                            .tint(.cyan)


                        }
                }
            }
        }
    }
}In the example above, we use both Buttons with Labels and Buttons with Text. The difference is in their appearance. If you use Label, only the icon will appear, while with Text, the text will also appear.
Button {
	info = "Favorite item \(i)"
} label: {
	Text("Favorite")
}
.tint(.brown)
Button {
info = "Archive item \(i)"
} label: {
Label("Archive",systemImage: "archivebox.fill")
}
.tint(.cyan)Feel free to also try changing the value of allowsFullSwipe to see the difference more clearly.
That's all for this tip/trick. Happy experimenting, and hopefully, this little tip will be useful.
 meshwara